Close-Up of Button Pendants
One of my favorite things that I have from my grandmother is a jar of buttons. I used it as decoration in my home when I was doing a “country” theme. Now, you see button crafts everywhere on Pinterest. I search the antique stores for buttons whenever we go shopping. My husband just shakes his head. My mom always said when you go to an antique store you should have something small that you enjoy to collect. She liked salt cellars. I still look at them when I go shopping. You just buy if you see something totally different. It is inexpensive, but it is a find! It makes the trip fun! So, now I hunt down unusual or pretty colored buttons.
This post is about making button necklaces. This is a simple craft.
Items you will need:
- Buttons of assorted sizes and colors
- Glue-On Bails
- Necklace chains
- E-6000 Glue or some similar jewelry cement to glue the buttons together
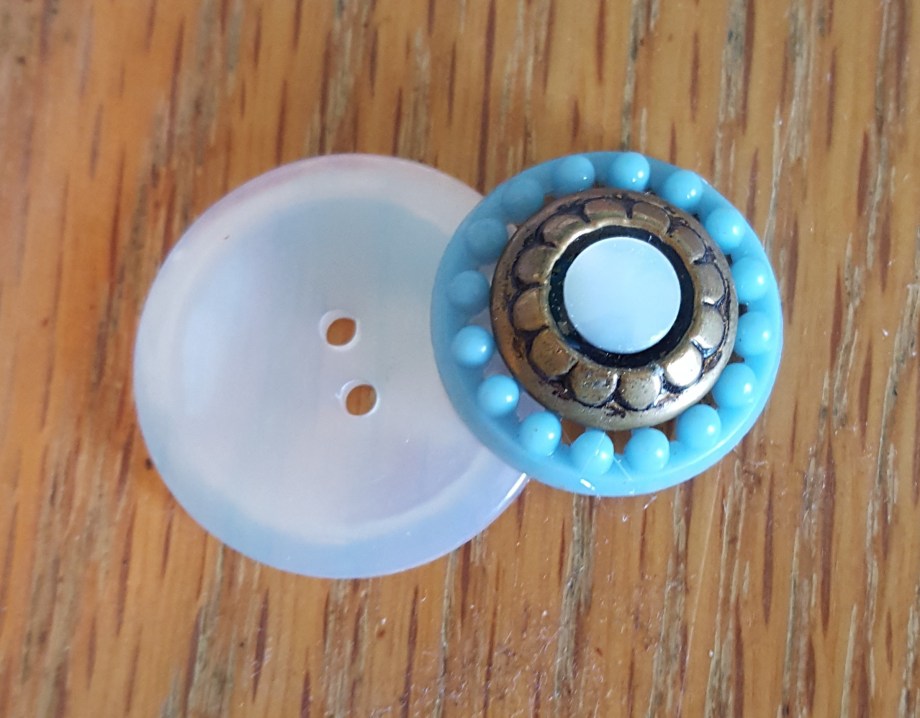
- Sort Your Buttons. The first thing I did was sort through my buttons to find ones that I could stack together. This is the fun part! Just mix and match until you have combinations that you like.
- Glue Those Buttons. Next you start the gluing process. I find it is easiest to put the glue on a toothpick and carefully put a thin coat on the button. Place the first button and press it in place. This will need to harden before you set the next button layer in place. E-6000 takes about 12 hours to be ready for the next layer.
- Put on the Bail. Putting the bail on is the next step. Find a glue-on bail for the next step. After you let the bail dry for at least 12 hours, it is ready to go on the necklace.
- Match the Bail and Necklace. A word of caution as you select your bail. Try it out with the necklace you plan to use. You may have to remove the clasp to put the button pendant on the necklace if the bail is too small. This is not too big of a problem since you can put the clasp back on after you put the pendant on the necklace.

Buttons in Process
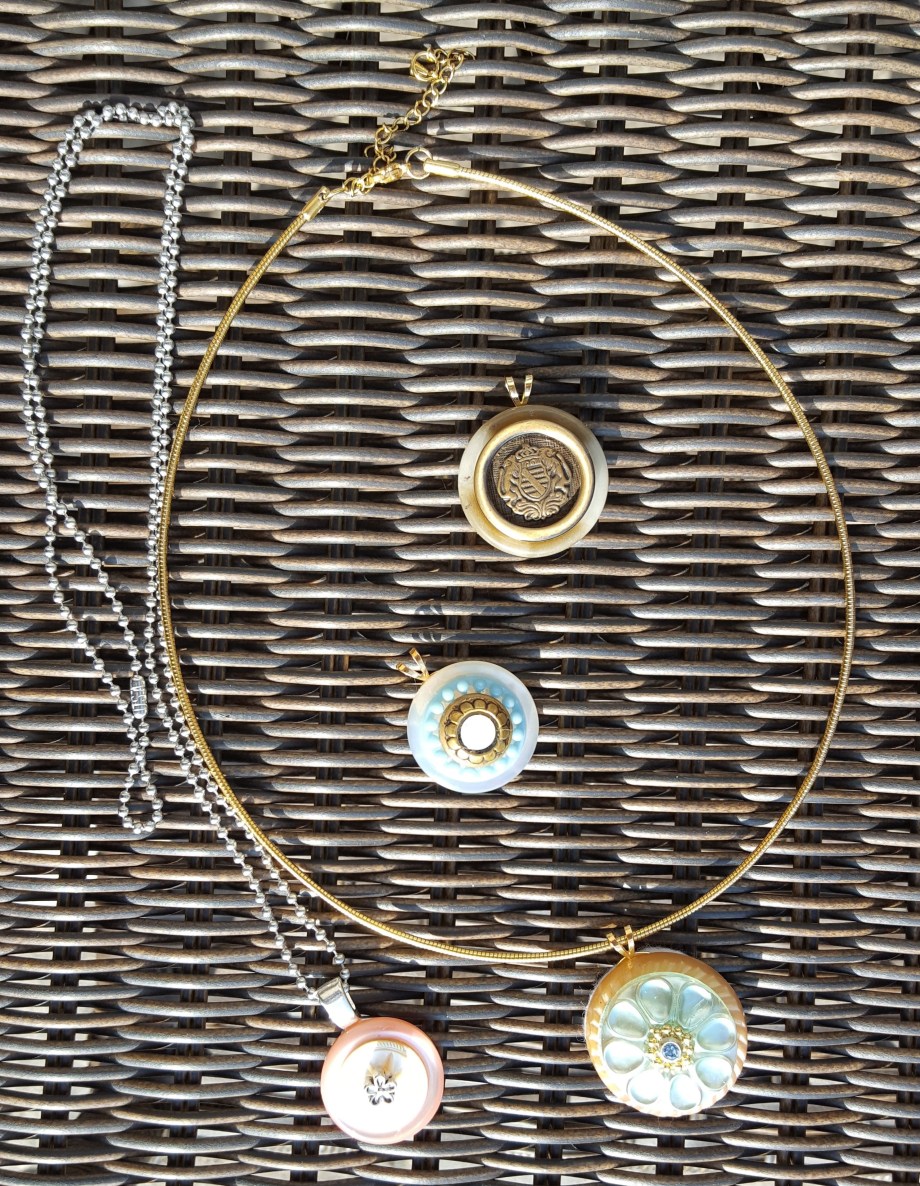
Finished Necklaces
There you go!!! They are that simple. I have to say, I love the pink one. That was my last one and I don’t know if I can give it away. Do you ever do that? I usually give my favorites away, but this one…there is something about it and it may just have to stay at my house.
If you have questions or suggestions, please let me know! I would love to hear from you!
Thanks! Kathy